
Best Tools and Tips for a Flawless Tan
Achieving a flawless self-tan can be tricky, especially on your back—an area that's notoriously hard to reach. To avoid streaks or patches, getting an even self-tan all over is essential. Thankfully, with a little creativity and the right tools, tanning your back becomes much easier.
In this guide, we’ll cover tips for applying self-tan on your back, including how to use NUDA’s self-tanning back applicator, tanning mitt, and even some innovative ways to use everyday household items. Whether you’re flying solo or enlisting a friend, this guide has everything you need for a streak-free back tan.
Why is Tanning Your Back So Challenging?
Your back is one of the hardest areas to reach, making self-tanning a bit more complicated. Awkward angles and limited visibility can lead to missed spots or uneven application. However, achieving a golden glow on your back is absolutely doable with the right approach and a bit of patience.
Essential Tools for a Perfect Back Tan
Before we dive into techniques, let’s discuss the tools you’ll need for a perfect back tan. These include dedicated self-tanning tools like NUDA’s self-tanning back applicator and tanning mitts, as well as some household items that can come in handy.
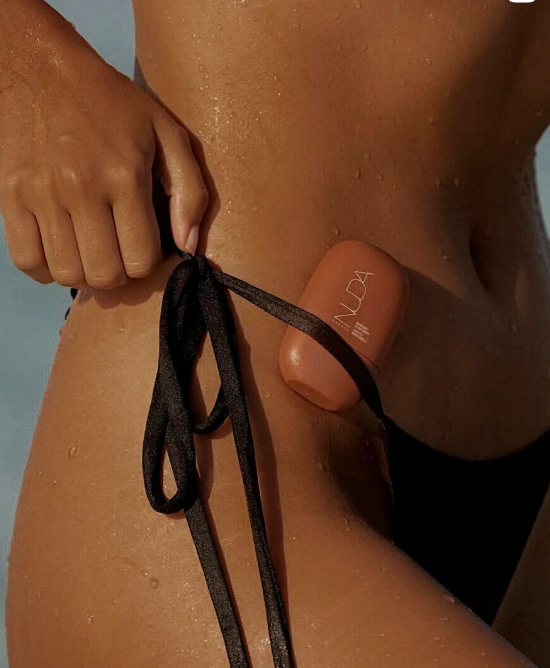
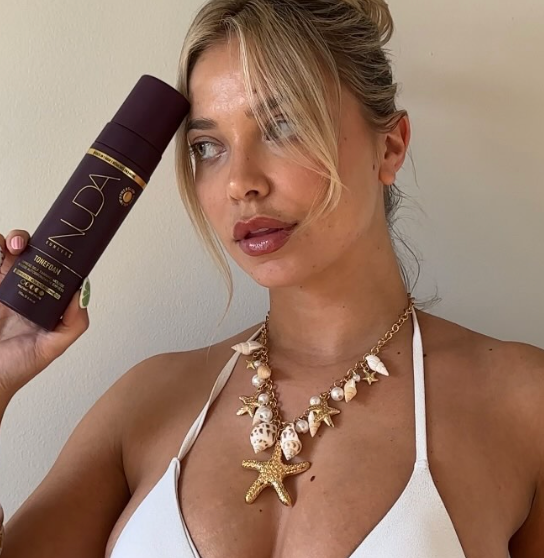
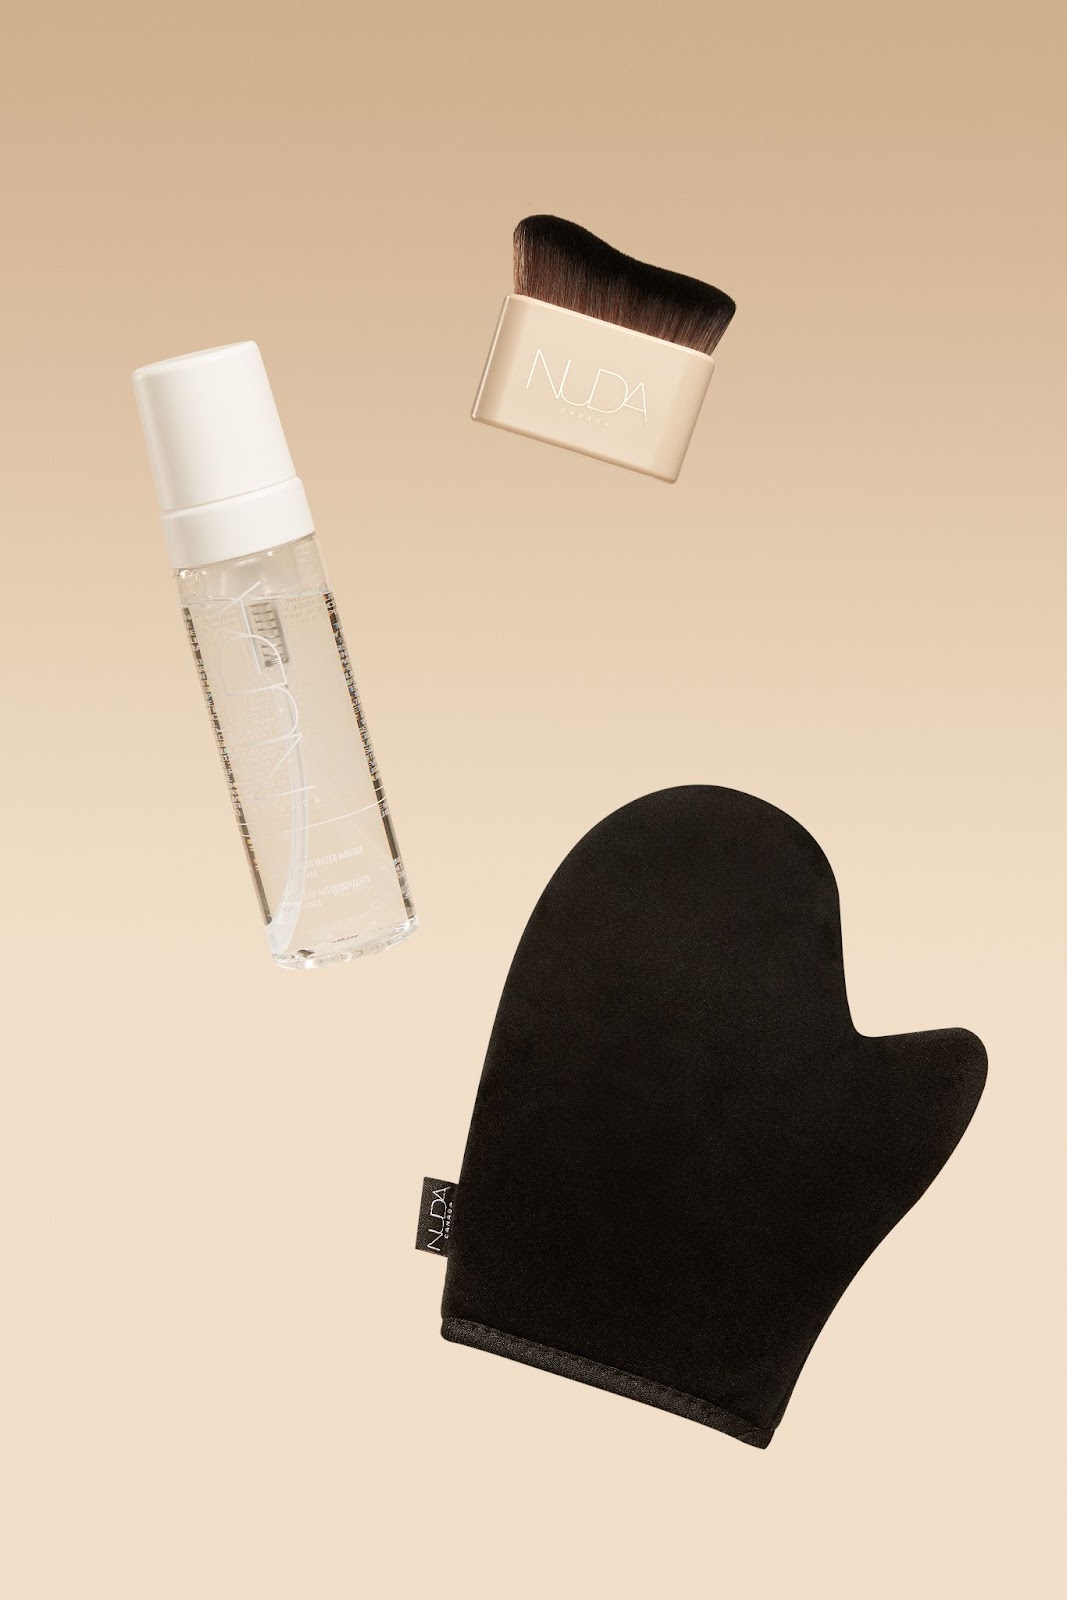
- NUDA’s Self-Tanning Back Applicator: This tool is designed specifically for hard-to-reach areas, featuring a long handle and an applicator pad that distributes self-tan evenly across your back. It’s perfect if you often struggle to reach the middle or upper parts of your back.
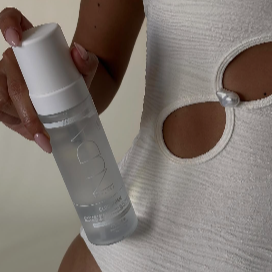
- NUDA’s Tanning Mitt: A tanning mitt is another must-have for applying self-tan to the rest of your body. NUDA’s tanning mitt allows for smooth, even application and protects your hands from staining. While it’s not designed for back application on its own, you can get creative with it!
- Household Items (DIY Back Applicator): If you don’t have a dedicated back applicator, items like a long-handled wooden spoon wrapped in NUDA’s tanning mitt or a microfiber towel attached to a back scratcher can help spread self-tan evenly.
- A Helping Hand: Asking for assistance from a friend or partner can be a great option. With a second set of hands, you can ensure your back gets the attention it deserves.
Now that we’ve covered the tools, let’s look at methods for applying self-tan to your back.
5 Methods for Applying Self-Tan to Your Back
1. Using NUDA’s Self-Tanning Back Applicator
- Step 1: Apply a small amount of self-tan to the pad of the back applicator. Avoid overloading it to prevent streaks.
- Step 2: Stand in front of a mirror and start from the center of your back, working outward with long, sweeping motions.
- Step 3: Bend slightly forward to reach the upper part of your back, and reach under your arm to cover the lower part.
- Step 4: Blend the edges where the tan meets other parts of your body for a seamless transition.
2. Using NUDA’s Tanning Mitt (With a Twist)
- Step 1: Attach NUDA’s tanning mitt to a long-handled utensil (like a wooden spoon) with an elastic band.
- Step 2: Apply a small amount of self-tan to the mitt and use the utensil to reach your back.
- Step 3: Move the mitt in long, sweeping motions for even application.
3. Using a Microfiber Cloth or Towel
- Step 1: Apply self-tan to the center of the cloth or towel.
- Step 2: Hold the ends and drape it behind your back, moving it in a back-and-forth motion.
- Step 3: Use a mirror to check for missed spots.
4. Asking a Friend or Significant Other for Help
- Step 1: Have them apply a small amount of self-tan to NUDA’s tanning mitt.
- Step 2: Instruct them to use long, sweeping motions to cover your back evenly.
- Step 3: Ensure they blend the product around your shoulders and neck.
5. Use a Spray Self-Tan for a Quick Back Application
- Step 1: Stand in front of a mirror for better visibility.
- Step 2: Hold the spray nozzle about six inches from your back and move it in a sweeping motion.
- Step 3: Avoid spraying too much product at once; build it up gradually.
Final Tips for Tanning Your Back
- Exfoliate First: Remove dead skin cells for a smooth surface.
- Moisturize Dry Areas: Apply moisturizer to dry spots to prevent the self-tan from clinging.
- Work in Sections: Focus on smaller areas for an even application.
- Check in Natural Light: After applying, check the results in natural light for any streaks.
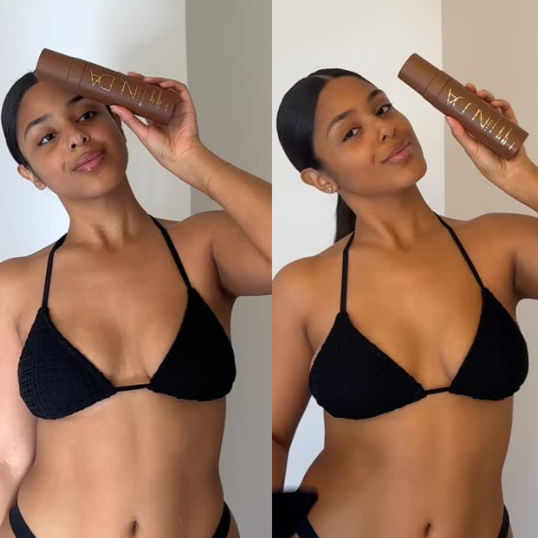
Tanning your back may seem daunting, but with the right tools and methods, it’s totally achievable. Whether you’re using NUDA’s self-tanning back applicator, a DIY solution, or getting help, these tips ensure an even, streak-free tan. Say goodbye to awkward tan lines and hello to a beautiful back!